Remember being a kid, furiously coloring in your favorite coloring book, only to have your crayon go rogue and venture way outside the lines? You know what I always wished I had back then? Something to keep my crayon from going outside the lines. Now that I’m all grown up, a lot of my childhood wishes are coming true thanks to all the cool stuff available in the digital art world. No coloring outside the lines chaos anymore. Enter Alpha Lock - Procreate's secret weapon that's about to become your new best friend.
If you're new to Procreate (or even if you've been around the digital block a few times), this little hack will transform the way you create. So What Exactly Is Alpha Lock? Alpha Lock is basically Procreate's way of saying, "Hey, you know that shape you just drew? In technical terms, it locks the transparent pixels of your layer, allowing you to paint, shade, or texture only on the existing content. Nothing escapes. Nothing bleeds over."
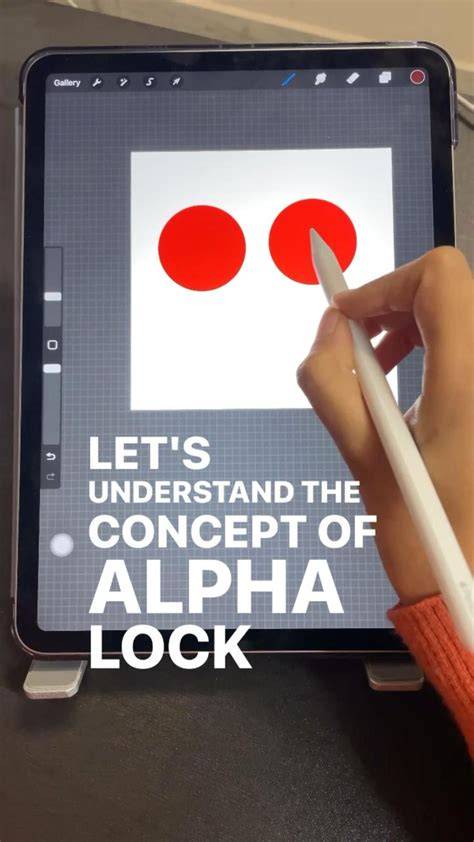
Translation? Step 1: Select the layer you want to edit in your Procreate Layers panel. Step 2: Here comes the fun part - perform that two-finger swipe! Swipe right across the layer with two fingers, and you'll see a checkered pattern appear on your layer thumbnail. Step 3: Start painting, shading, texturing, or adding details. And that's it!
You've just finished a gorgeous floral pattern, but your client (or your own refined taste) wants to try a different color scheme. You're creating a cohesive pattern collection (maybe even following along with Procreate Pattern Collection Masterclass), and you realize your motifs need more visual interest. Your pattern looks flat, and you need to add some depth - fast. Once you've got Alpha Lock down, it's time to level up to clipping masks and layer masks. These features are like Alpha Lock's cooler, more sophisticated cousins who went to art school in Paris and came back with a whole new perspective on layer management.
Clipping masks let you create non-destructive edits (fancy talk for "you can change your mind later"), while layer masks give you even more control over what's visible and what's hidden. Experiment! Alpha Lock might seem like a small feature, but it's one of those tools that, once you start using it, becomes absolutely indispensable. And hey, if you're hungry for more Procreate tips, tricks, and techniques that'll help you create professional-looking patterns without pulling your hair out, check out my Procreate Pattern Collection Masterclass. Want more bite-sized tips, tech hacks, and design inspiration delivered straight to your inbox every week? Now go forth and Alpha Lock all the things!
Procreate offers various ways to modify certain areas of content without affecting others. While they are not Masks in the digital sense, Locks offer an important related function. A Layer Lock protects a layer from any edits. To prevent any accidental changes and edits made to a layer you can lock it. Locking a Group will lock all layers in that Group. When locked a layer or Group will display a small padlock symbol next to the name. You cannot edit, move, cut, paste, transform, or delete a locked layer.
Activating Alpha Lock on a layer means that you can only change pixels that already exist on the layer. Using this, you can block out a character's silhouette, then freely add color and detail to that character. In the below example, on the left a shading stroke is applied to the top of the elephant layer Alpha Lock disabled. Need to touch up an edge, or add to your existing Alpha shape? You can modify a Layer Mask to hide or show any part of its parent layer without erasing any content.
Layer Masks are edited using grayscale. Erasing or painting in black hides parts of the parent layer, and painting in white reveals parts. When a Layer Mask is selected as your Primary layer, your Color Panel selections will ignore hue. When you select a Layer Mask as your Primary layer, you can use Erase or Paint to edit the mask. This allows you to Transform both at once. Tap and hold on the Layer Mask or its parent layer to pick up both, and drag them elsewhere in your Layers menu. Layer Mask doesn’t have its own Duplicate button.
When you activate a Clipping Mask, it clips your active layer to the layer underneath it. Tap your Primary layer to invoke the Layer Options menu, then tap Clipping Mask. Use the Transform tool to move, scale, or distort the content on your parent layer. Reimagine the appearance of the content on your clipped layer. Clipping Masks differ from Layer Masks in that they are independent of the layer they affect. When you move a Clipping Mask's layer order, it will clip to the layer below it. Move a clipped layer to the bottom of your Layers Panel, the Clipping Mask function will deactivate.
Especially as a beginner, it’s difficult to understand the difference between alpha lock, clipping masks, and layer masks. It’s also hard to know when to use them! It gets easier with experience and it also depends on the “work flow” you prefer. So I will explain them as simply as I can, with an example of each. Keep in mind that this post is just scratching the surface!
Practical separations: Alpha Lock, Clipping Masks, and Layer Masks
I’m starting with Alpha Lock because it’s the most basic. You lock the pixels that are already on a layer! There’s two ways to activate it. Tap a layer and select/deselect it from the Layer Menu or you can two-finger swipe to the right on a layer. You will see the little checker board boxes in the thumbnail for that layer. Once you add some “paint” (pixels of color) to a layer, you can alpha lock it so it can be edited easily. This locks the pixels, even the transparency of them and the overall texture!
Once a layer is locked, you can do things like select a new color and Fill it. Or you can swipe over it with a variety of colors and brushes but the only things that are affected are the pixels that already exist on that layer! Alpha lock doesn’t use any extra layers but it is “destructive” since you are changing the color of the original pixels you had on the layer. That means, if you change your mind later, you have to redo what you originally had.
Clipping masks are new layers that are attached (clipped) to a layer below them. We will call the lower layer the Base Layer. When you paint something on a clipped layer, you can only SEE the areas that are directly on top of the paint that is on the base layer. To turn a layer into a Clipping Mask, tap on the layer and select Clipping Mask from the layer menu. You will see the little down arrow on the layer. The image below shows two of them. You can have as many as you want but all of them are clipped to the same base layer. In this example, the bird color is the base layer. One clipping mask has the orange stripe on the neck of the birds. The other clipping mask has the spots on the belly of the green bird. Both of these layers allowed me to “color outside the lines”.
The part that is outside the lines is not seen because the only paint that can be seen is the paint that is directly on top of the birds themselves. See how I can move the spots around and they are only visible when they are on top of the bird? This is a huge perk because now I can change the color of the belly spots and the neck stripes without changing any other bird colors. I can even alpha lock those clipping masks in order to make those changes! I can also play with the opacity and blend modes of those clipping masks since they are their own layers. To me, it’s worth it to use the extra layers!
Finally, it’s time to discuss layer masks. Honestly, I use this option the least! Think of it as “masking” something. It can look like you are actually erasing without erasing! Activate it from the Layer Menu just like the others, but it just says Mask. Selecting it will attach a layer to the layer you are currently on. I am going to focus on the spot where this flower petal overlaps the leaf. I am thinking about having the leaf look like it is on top of the petal. So I could just erase the part of the petal that is covering the leaf but what if I change my mind later and I want that petal to go back to how I originally had it? Well, I can paint with black on that Layer Mask layer and it will look like I am erasing! You can see the Layer Mask has black on it now. That is masking, or covering up, the part of the petal that overlaps the leaf. Now the leaf looks like it’s on top!
To summarize, Alpha Lock locks the transparent pixels of a layer so you can edit only existing content, clipping masks create non-destructive edits by tying visibility to a base layer, and layer masks provide grayscale-based visibility control. Each tool serves a different workflow need, and mastering them together unlocks powerful, flexible editing capabilities in Procreate.
If you need a video to help you understand it even more, here is a YouTube lesson! Of course, in my illustration classes in my membership we use these sorts of features as well! Learn more about Creative Journey, my membership that supports you on your art journey with Procreate, no matter where you’re at! Classes, Zoom calls, Private Community.