Christmas lights bring magic to any artwork, and with Procreate brushes, you can craft radiant string lights, glowing bulbs, and festive patterns that pop on dark backgrounds. This guide compiles practical steps and tips drawn from a collection of Procreate brush sets and workflows to help you design luminous Christmas scenes with ease.
Choosing and organizing brushes for a festive glow
Begin by selecting brush sets such as Glitter Christmas PS Brushes, Christmas PS Brushes, Vintage Christmas PS Brushes, Christmas Flower PS Brushes, Christmas Frames PS Brushes, Christmas Snowman PS Brushes, and Santa Claus PS Brushes to diversify texture and light effects. Group brushes in a dedicated folder for quick access when building your composition. Create a dark-colored background on its own layer to maximize the glow of your lights.
Setting up the canvas and base layers
Bring in the template canvas to get started. Create a dark-colored background on its own layer and add in your lettering or typeable text. This creates a high-contrast stage where the string lights will shine prominently.
Drawing the string lights
Add in your string lights by creating a new layer and grab the fortune 4 pencil. Draw in the string light at the top and bottom close to the edge. Group everything you have done together and make a duplicate. Flatten one group and begin the process of making it a seamless pattern. Select the pattern, save and load, tap on selection 1, go to the wrench, go to add, cut and then paste. Repeat with the other quadrants. Label the layers.
Creating a seamless pattern for repetition
Select layers number 1 and 3, and drag it straight over. Select layers 2 and 4 and do the opposite. Choose layer 1 and 2, and drag them down. Choose layer 3 and 4, and drag them up. Merge all 4 layers together. Make the connection between the string of lights. Merge the two layers together.
Adding and glowing the bulbs
Add in your lights by creating a new layer and put little lines where you plan to put the lights. Switch back to the Alice pencil and draw in the lights. To make the bulbs glow, group all of the bulb layers and duplicate them. Apply a gaussian blur to them and change the blend mode to screen. Test the pattern by grabbing the flattened layer, drag it up to snap into the top left quadrant. Repeat to fill the canvas. Repeat this process one more time.
Fine-tuning and repetition
Continue duplicating and adjusting the glow pattern across the canvas until the scene feels balanced. The glow effect benefits from subtle layering: blur intensities, layered bulbs, and careful blending can create a convincing festive sparkle without overpowering the main artwork.
Practical tips for working with Procreate brushes
- Experiment with different brush textures to simulate varied bulb surfaces and light diffusion.
- Use soft blur and screen blend modes to achieve a natural glow rather than a harsh edge.
- Keep a few reference palettes on hand to ensure color harmony across all light elements.
- Save custom brush settings as presets for future holiday projects.
- Organize layers by light string, bulbs, glow, and background to simplify edits.
Creative applications and variations
The same workflow can be adapted for different Christmas scenes: snow-dusted window silhouettes, festive typography with illuminated borders, or vintage-inspired card designs. By combining glitter textures, vintage brush marks, and decorative frames, you can produce both modern and retro holiday artwork that resonates with warmth and nostalgia.
Incorporating additional elements
Enhance your composition with Christmas tree ornaments, flowers, and frames from the associated brush sets. Including elements like Santa Claus motifs or snowman details via dedicated brushes can add character while maintaining a cohesive glow aesthetic. When integrating such elements, ensure the lighting direction remains consistent with the string light source to preserve realism.
Table: workflow snapshot
| Step | Action | Key Tools |
|---|---|---|
| 1 | Set up dark background | Background color layer |
| 2 | Draw string lights | Fortune 4 pencil, string light layer |
| 3 | Create seamless pattern | Duplicate, flatten, pattern save/load |
| 4 | Add bulbs and glow | Bulb layers, Gaussian blur, Screen blend |
| 5 | Populate canvas | Pattern placement, repetition |
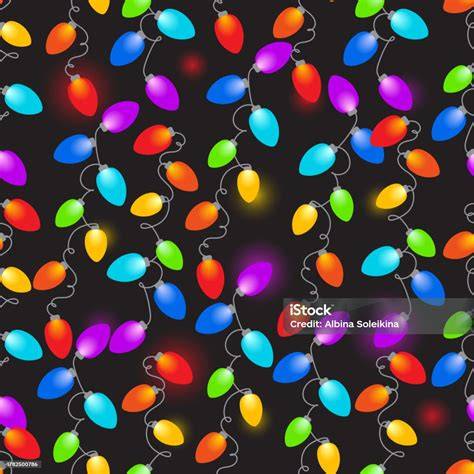
Vlog 3 | Procreate 5 How to make string light effect | Free brush | tutorial | Christmas card idea
The process described here combines practical brush work with a pattern-based approach to ensure your Christmas lights look radiant and cohesive across the artwork. By leveraging the listed brush sets and a methodical layering strategy, you can produce professional results suitable for cards, posters, or digital decor.