Resizing images in Photoshop is a fundamental skill for photographers, designers, and content creators who need images to fit specific platforms or layouts without sacrificing clarity. This article compiles the most practical methods to reduce image size, preserve quality, and maintain the right proportions across various use cases.
1) Use the Image Size dialog to resize with preserved proportions
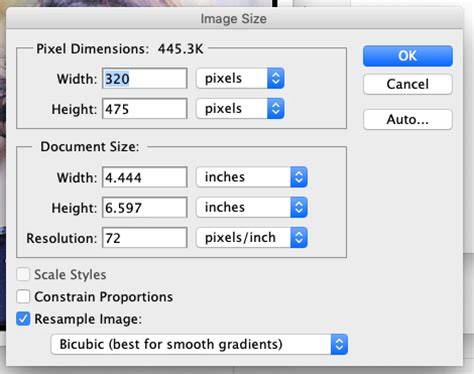
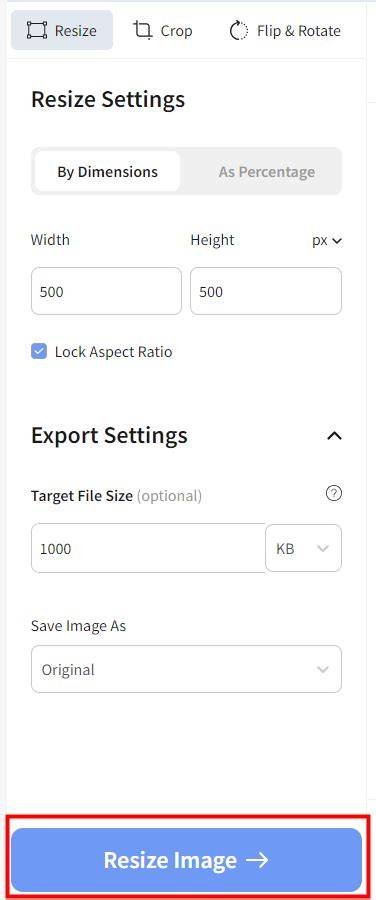
The image size dialog box is used when you need to change the pixel dimensions, usually without changing the ratio or canvas size of your image. In the dialogue box, you can enter the desired dimensions for your image. Be careful not to accidentally stretch your image here. Click the chain link icon to maintain the proper ratio. The best thing about the chain link is that it automatically does the math for you, so if you know the image needs to be 650 pixels wide, you can just enter that number and the computer will calculate the other dimension for you.
Make sure you choose the proper unit of measure for your image. Pixels, inches, picas, etc. For the resampling box, you generally choose Automatic. There are some preset options for you to use, depending on what you’re doing with the image. If you decide to make your images larger, keep in mind the computer will interpolate pixels for you and you might lose image quality. Depending on the final use of the image, that might not be a big deal. Billboards and large-scale graphics viewed from far away can tolerate some pixelization, but for smaller images used in print or web, you’ll want to preserve detail as much as possible.
2) Export As for efficient web and print optimization
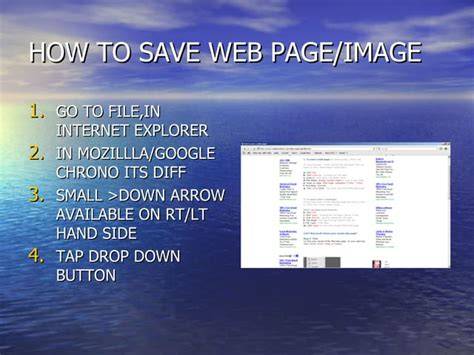
Export As seems to be the new replacement for Save for Web. It’s a simplified dialog box for exporting images for various formats, print or web, without having to resize your original image. Notice Export As has an Image Size and Canvas Size function built right in, so you can just skip all those other steps if you just need to resize before saving. It shows a visual preview and the projected file size depending on the file format, pixel dimension, and image quality you select.
Use Export As when you want tighter control over final file size and compression while preserving as much quality as possible. This is particularly useful for product images, thumbnails, or hero banners that must load quickly on the web.
How to Save & Export - Photoshop for Beginners | Lesson 10
3) Save for Web (legacy) and its current role in modern workflows
Save for Web is now labeled as a legacy function in Photoshop, which often means it will be phased out in future versions. I still use it for exporting images for web because it offers handy preset size options and straightforward quality controls. You can adjust the size upon export without altering your original file, which helps keep source images intact for future edits.
When choosing a preset, balance file size with image quality. Smaller file sizes improve loading times and SEO, but overly aggressive compression can degrade the appearance of detail and color.
4) Practical tips for reducing image size without losing real quality
- Keep the resolution appropriate for the use-case: For web, 72 PPI is standard; for print, aim for 300 PPI or higher. Reducing PPI can shrink file size without changing pixel dimensions, but beware of unintended quality changes for print.
- Choose the right resampling method: For downsizing, Bicubic Sharper (reduction) preserves detail; Bicubic (smooth gradients) or Automatic are good defaults when unsure. Nearest Neighbor should be avoided for photographs due to jagged edges.
- Balance width, height, and aspect ratio: Use the chain link to keep proportions, preventing distortion. When you need a specific aspect ratio for a platform, adjust width and height accordingly and crop if necessary.
- Consider the final medium: Web images benefit from smaller file sizes; print requires higher resolution and careful downsampling decisions to avoid artifacts.
- Preview before exporting: Use the 2-Up or other preview options in Export As to compare how different settings affect quality and file size side-by-side.
5) Quick shortcuts and workflow improvements
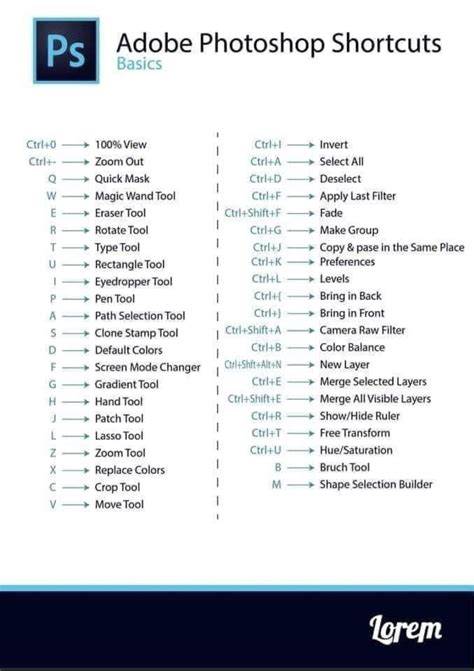
If you want a quick way to resize images in Photoshop, open your image with File > Open, then go to Image > Image Size. You can quickly access the Image Size window by typing CTRL + ALT + I (COMMAND + ALT + I on a Mac). In the Image Size dialog, enter the new dimensions and use the chain link to maintain aspect ratio. After resizing, save with Export As to control format, size, and compression. For batch resizing, Photoshop’s Image Processor script can process multiple images efficiently.
6) When to resize versus when to crop or extend canvas
Resize to adjust pixel dimensions or the overall file size; crop to change the composition and aspect ratio, or extend canvas to create space around the image for text or design elements. The canvas size tool is particularly useful when you want to add a colored background or transparent space around your photo for headers or collages. Remember to duplicate layers when expanding the canvas to keep the original intact.
7) Applying the knowledge: choosing the right method for your use case
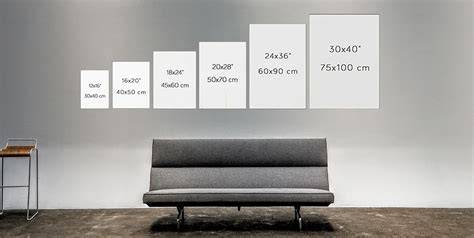
For web thumbnails or small product images, Export As and Save for Web provide efficient size control with minimal quality loss. For social media banners or hero images, you may start with Image Size to target precise pixel dimensions, then finalize with Export As to balance size and quality. For print, keep high resolution and perform careful downsampling to maintain detail and color fidelity. The key is to test multiple options and compare results to ensure your final image meets both visual and technical requirements.
8) Quick reference: recommended settings for common use cases
- Web feature image: 1200-1600 px wide, 72 PPI, JPEG or PNG, target under 200 KB using Export As.
- Product photography: 1000-2000 px square, Bicubic Sharper (reduction), Save for Web or Export As with moderate compression.
- Social media profile pictures: 1:1 aspect ratio, 800-1500 px, high quality JPEG.
- Print banners: 300 PPI, large pixel dimensions (e.g., 3000-6000 px depending on print size), appropriate downsampling as needed.
| Use case | Recommended method | Key settings | Notes |
|---|---|---|---|
| Web image | Export As | JPEG/PNG, 72 PPI, quality medium-high | Balance quality and file size |
| Product photo | Image Size + Export As | 1:1 aspect, 1000-2000 px, Bicubic Sharper | Keep detail for zoom |
| Print header | Image Size | 300 PPI or higher, large dimensions | Preserve color fidelity |
In summary, resizing in Photoshop involves selecting the appropriate tool for the job-Image Size for precise pixel dimensions, Export As for controlled compression, and Save for Web for legacy workflows-while paying attention to aspect ratio, resolution, and the final platform or medium. The five common approaches discussed here cover the majority of needs, and experimenting with different resampling options helps to find the best balance between file size and visual quality for each image.