Stop motion and time lapse are a fun effects to occasionally incorporate into your video editing projects. You may think, however, that you need fancy software or high end video editing programs to get the job done. Not true! Even iMovie can create slow video and time lapse videos if you know how to manipulate it.
Getting started with iMovie for stop motion
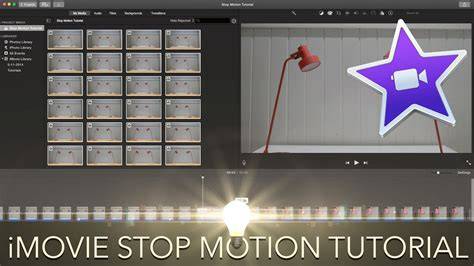
Open iMovie. Go to Properties>Timing. Change the preferences from “Ken Burns” to “Fit in Frame”. This will keep your photos from zooming in and out during the stop motion effect.
Assuming all of your photos are already in sequential order, just click and drag them into iMovie.
Adjust the duration of each clip. To do this, double click on one of the images. This will bring up the inspector window. Change the duration from 4 seconds down to .1 second. Apply this to all the stills. This will make your stop motion sequence move at a rate of 10 frames per second (this is the fastest that iMovie will allow).
Export the video. This way you can string together multiple stop clips if you’re trying to accomplish multiple scenes.
Add your stop motion clip to your project and add transitions, text, color correction and more!
See? Pretty easy!
Historical perspectives and notable practitioners
Two of the world’s most original filmmakers, identical twins Stephen and Timothy Quay, have been making their unique blend of puppetry and stop-motion animation for nearly 30 years and have spawned an enormous cult following. The tiny sets of these masters of miniaturization create an unforgettable world, suggestive of a landscape of long-repressed childhood dreams, and display a passion for detail, command of color and texture, and an uncanny use of focus and camera movement that make their films instantly recognizable.
Practical steps: repeating the essential method in brief
- Open iMovie. Go to Properties>Timing. Change the preferences from “Ken Burns” to “Fit in Frame”.
- Assuming all of your photos are in sequential order, import them by dragging into iMovie.
- Double-click an image to open the inspector and set the duration to 0.1 second for each still.
- Export the video to string together multiple scenes if needed.
- Insert the clip into your project and apply transitions, text, color correction, and more.
That’s the core workflow for creating fast stop motion sequences in iMovie, with a frame rate around 10 fps.
How to make stop motion on different devices
On Mac: follow the same steps as above-adjust the photo placement to Fit in Frame, shorten durations, and export.
On iPad/iPhone: open the Projects tab, create a project, upload the images, and turn off Ken Burns to disable automatic transitions in your stop motion video.
Alternatives and supplementary approaches
FlexClip, an online iMovie alternative, is a competent platform for creating stop-motion videos. It supports basic editing features, rich media resources, and collaboration tools, with a default per-scene duration of 0.5 seconds and options to add text, background music, or voiceovers. This can be a convenient option if you want to experiment with stop motion without installing software.
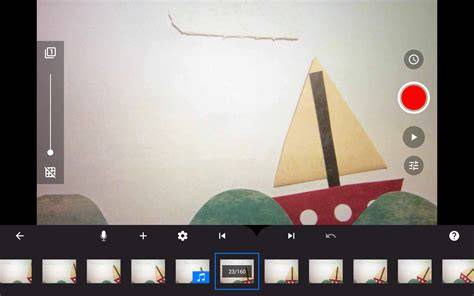
Stop Motion Studio is another popular app for iPhone and iPad that provides streamlined stop motion creation with strong performance and a clean interface. It emphasizes ease of use and often requires in-app purchases for full features, while the basic experience remains approachable for beginners.
There are also more technical considerations. If you need faster frame rates or frame-by-frame precision beyond iMovie’s defaults, you can convert still frames to movie clips and adjust frame durations individually, or explore scripting options to batch convert images into movies beforehand.
Advanced considerations and tips
- To avoid timing misalignment when composing a long sequence, consider splitting your project into separate scenes and exporting them individually before final assembly.
- When audio is used, plan around the frame duration so that dialogue or sound effects remain synchronized with the action, and consider adding a subtle voiceover to tell your story.
- If the minimum duration feels too slow, you can employ arithmetic to scale the frame durations: set a minimal frame duration and adjust the rest proportionally, then reassemble in a new project to maintain order.
Practical workflow recap
1) Prepare your image sequence in the desired order. 2) Import into iMovie and set the framing to Fit in Frame. 3) Reduce each image duration to 0.1 seconds for a 10 fps stop motion. 4) Export and reassemble if you have multiple scenes. 5) Add finishing touches like transitions, text, and color correction. 6) If needed, experiment with alternative tools for online or mobile workflows.