Batch export in InDesign can dramatically speed up your workflow by turning a folder of documents into a consistent set of outputs in multiple formats. The Page Exporter Utility (PEU) and similar scripting approaches offer a versatile way to generate PDFs, JPEGs, PNGs, and other formats, with options for versioning, layer-based outputs, and automated naming conventions. This article compiles practical guidance and features from commonly used batch export scripts to help you implement a robust automation pipeline.
Key capabilities of batch export scripts
Scripts typically provide a straightforward interface with three core sections: Input, Options, and Output. The Input area lets you select a folder containing InDesign documents. The Output section defines the export formats and related settings. The Options area covers technical parameters like resolution, quality, and whether to export spreads. A notable feature is the ability to output multiple PDFs from different layer combinations via a versioning option, which is particularly useful for multilingual or multi-variant publishing workflows.
Available export formats commonly include ICML, IDML, JPG, PDF (Interactive), PDF (Print), and PNG. Spreads can be enabled to export pages as spreads, and there is attention to how certain formats (such as ICML) handle document content. The script often ensures that illegal characters are removed from file names and allows adding a suffix to output files to distinguish versions or language variants.
Anti-alias behavior for image formats like JPG and PNG is typically automatic, with anti-aliasing enabled by default to ensure visual quality. The tools are designed to work with the latest Adobe Creative Cloud applications, and there is guidance about compatibility with older versions, noting that results may vary or some features may not function as expected on legacy releases.
Practical considerations for configuring a batch export workflow
Folder selection is fundamental: point the script at a directory containing InDesign documents, and each document is exported according to the chosen Output format. If you need multiple output variants, use the versioning option to generate different PDFs from different layer combinations-for example, one Base layer plus three language layers. This approach helps maintain a clean, scalable set of files for distribution or archival.
File naming is important for organization and downstream processing. The script supports an Original file name plus a suffix, with safety measures to ensure the suffix contains only legal characters for file names. When exporting to JPEG or PNG, beware that anti-alias is generally required for image quality, and the script typically enforces this by default. If you anticipate a scenario where disabling anti-alias might be desirable, test carefully, but most workflows benefit from keeping anti-alias on.
Error logging and script robustness are common enhancements. Some updates add the option to log errors (missing or modified links, missing fonts) during processing, which aids troubleshooting in large-scale batch runs. You may also encounter updates that improve interface behavior, support for additional delivery tools, or fixes related to output ranges, color management, or preflight integrations.
Illustrative workflow with a batch export script
1) Prepare documents: ensure InDesign files are organized in a single folder and that the layers you plan to use for versioning are properly named. 2) Set up options: choose formats (e.g., PDF (Print) and JPEG), enable spreads if needed, adjust resolution and quality, and decide on a suffix for output files. 3) Execute: run the script to export each document in the folder to the specified formats, with outputs named predictably and stored in the designated location. 4) Validate: review a sample of the produced files to confirm they meet layout, color, and quality expectations. 5) Iterate: refine the layer configurations or output settings to optimize for future batches.
- Folder - select the folder containing InDesign documents.
- Format - choose ICML, IDML, JPG, PDF (Interactive), PDF (Print), PNG.
- Spreads - enable to export pages as spreads.
- Resolution - set the rasterization density (PPI).
- Quality - adjust image quality for raster formats.
- Original file name + - add a suffix to output file names.
Note: Exporting to images with certain settings can yield unexpected results, so validate outputs after first runs. If you are integrating with other tools for delivery or archiving (e.g., File Courier, Deliver), some scripts include compatibility updates to streamline those workflows.
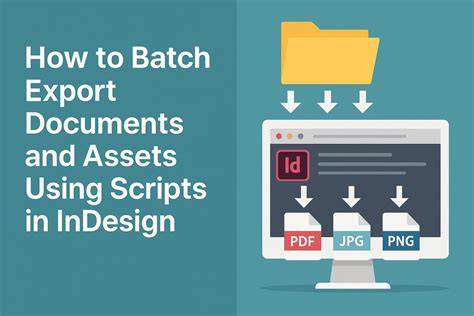
For teams deploying batch exports across many documents, a script aligns with best practices: it centralizes export logic, reduces manual steps, and minimizes human error in repetitive tasks. Always use the latest compatible Creative Cloud versions to maximize stability and feature support, and be mindful of legacy application constraints when operating on older Creative Suite releases. Documentation and community-tested scripts can offer templates for error handling, log reporting, and dynamic file naming to fit your organizational standards.
Stop Renaming PDFs! Batch Export & Auto-Name Files from InDesign
As a practical addition, you may consider augmenting the script with a simple table of outputs per document, listing document name, formats produced, and the resulting file paths. This provides a quick at-a-glance audit trail for batch runs and helps with downstream publishing pipelines.
In summary, a well-configured InDesign batch export script can deliver consistent, high-quality outputs across multiple formats, with versioning enabled to produce distinct PDFs from layer configurations. It saves time, reduces manual errors, and supports scalable publishing workflows in modern design environments.