WebP and PNG are two core image formats with different strengths, and converting between them is a common task in web design and digital workflows. This guide compiles practical methods, highlights potential trade-offs in quality, file size, and metadata handling, and explains when a quick browser-based conversion is sufficient versus when a more integrated tool is appropriate.
Key considerations when converting WebP to PNG
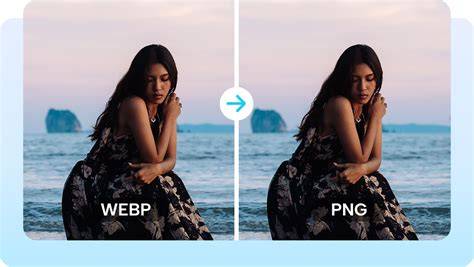
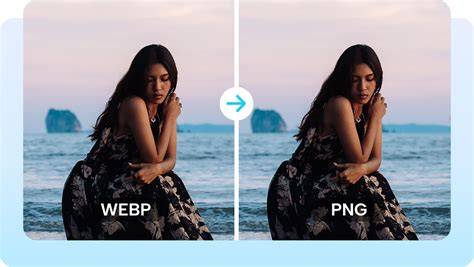
Converting WebP to PNG does not improve the source image's quality. The resulting PNG will often be larger, and the conversion can affect animation support and metadata. Animated WebP requires special handling, and some converters may strip EXIF, ICC profiles, or other metadata by default. In many cases, the browser's image decoder and Canvas API provide enough capability for a small, local conversion tool, which is convenient for occasional conversions.
PNG is lossless and is especially effective for graphics with flat colors, while WebP often achieves smaller file sizes through advanced compression. For photographs, PNG’s larger size can be a drawback, though lossless integrity is preserved. When compatibility and editor-friendly workflows are priorities, PNG is a solid choice.
Different approaches for converting WebP to PNG
There are several approaches, each with its own simplicity and scope. For a quick one-off conversion without installing new software, a browser-based tool can be sufficient. If a WebP file is part of a larger Node.js application, a library like Sharp can be integrated to handle conversion as a small part of the workflow. For a simple command-line or lightweight program, tools like mogrify can create PNG files alongside the originals in this example, though partial output files may appear behind a single command.
Browser-based conversion (privacy-friendly, quick)
Use the browser for a privacy-friendly, one-off utility. The browser’s image decoder and Canvas API are sufficient for a small local conversion tool. Upload your WebP image, and download the PNG after processing. This method is ideal when you only need a quick conversion without setting up a local tool or server-side processing.
Desktop and server-side options
PNG is lossless and is often preferred for editing workflows, logos, and graphics with transparent backgrounds. If you need to integrate conversion into a larger application, Node.js with Sharp provides a reliable, scalable solution. In cases where multiple sources or subsequent processing steps are involved, server-side tooling can be more efficient and reproducible.
Command-line tools and simple libraries
Command-line and Node.js approaches are straightforward for simple conversions. mogrify can create PNG files alongside the original WebP files, which is convenient for batch processing, though it may produce partial or side-by-side outputs in some setups. For a basic local tool, the browser approach remains the easiest, but command-line options are valuable for automation and integration into pipelines.
Special cases to consider
Animated WebP requires special handling, as frame data needs to be preserved or appropriately flattened depending on the target format. Metadata handling varies by converter; some tools strip EXIF, ICC profiles, or other metadata by default. If preserving metadata is important, choose a tool or workflow that supports EXIF and color profile retention. Partial outputs or frame-specific issues can arise with some methods, so test on representative images.
Why Everyone HATES Webp Image Files (But Shouldn't)
Practical method comparisons
The following summaries help you decide which approach to use based on your needs:
- Browser-based conversion: Quick, private, no installation; best for occasional conversions; may not preserve all metadata.
- Desktop editor-based conversion (Preview on Mac, Paint on Windows, Photoshop with plugin): Intuitive and supports basic metadata controls; suitable for small batches.
- Command-line tools and scripted workflows (mogrify, ImageMagick, or Node.js with Sharp): Efficient for batch processing and automation; best for workflows with many files or integrated pipelines.
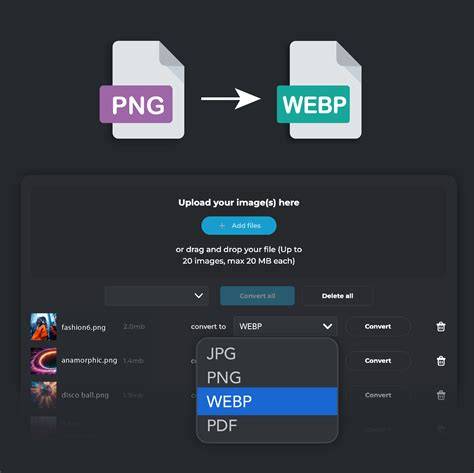
- Online converters: Easy for single files or non-sensitive content; consider privacy and file size limits.
Step-by-step: how to convert WebP to PNG in common environments
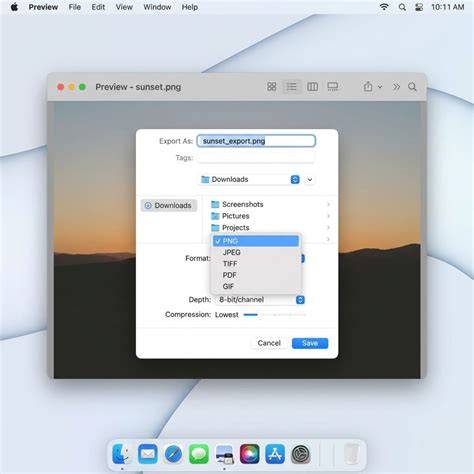
Mac: Preview
Open the WebP file in Preview, choose File > Export, select PNG, and ensure Alpha is checked if transparency should be preserved. Save. This retains transparency when present and yields a PNG suitable for further editing.
Windows: Paint
Open the WebP file in Paint, go to File > Save as > PNG, and save. This provides a quick, editor-friendly path to a PNG without extra software.
Online converters
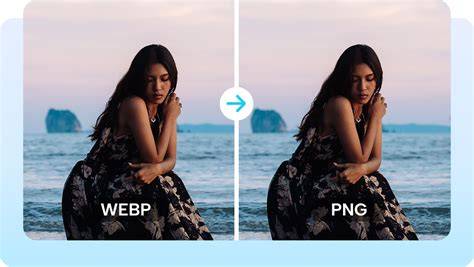
Upload your WebP file to a web-based converter, select PNG, and download. Examples include a variety of services that offer direct WebP to PNG conversion, often with no installation required. Be mindful of privacy and file size constraints.
Photoshop with WebP plugin
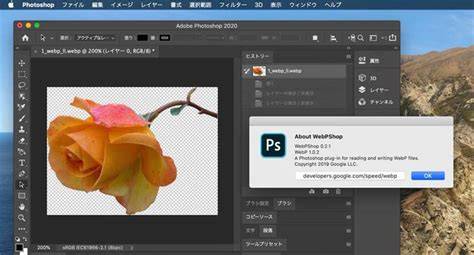
Install a WebP plugin to enable WebP in Photoshop, then open the file and export as PNG via File > Export. This is useful when working within a design-centric workflow and needing precise editing controls.
Node.js with Sharp
In a Node.js environment, use Sharp to convert WebP to PNG as part of a larger application. This approach is suitable when you need to integrate conversion into a broader processing pipeline and maintain consistency across formats.
Chunk of data: metadata and quality considerations
Converting from WebP to PNG preserves image data since PNG is lossless, but it does not improve source quality. If the WebP source uses lossy compression, the loss cannot be recovered in PNG. PNG may result in larger file sizes, and it does not inherently enhance perceived quality for photographs. When working with graphics, logos, or images requiring transparency, PNG’s lossless compression and alpha channel support can be advantageous, especially for subsequent edits.
Animated WebP must be handled to determine whether to preserve animation or flatten frames into a single PNG image. Metadata handling varies by tool; some converters strip or ignore EXIF, ICC profiles, or other data unless settings are adjusted. If metadata preservation is important, choose a tool that explicitly retains or allows control over metadata during conversion.