No time for video? A lower third is a graphic that sits in the lower third of the video frame, hence the name. This graphic is utilized to introduce a subject to the audience with their name and title. You’ll notice these graphics in documentaries, corporate videos, and other “real life” video content. While there are many lower-third templates available, learning to create your own custom lower thirds can ensure the information you want to convey to your audience is as effective as possible. Lower thirds should simply convey information and not distract from the main story, so fight the urge to include gratuitous animations or fluorescent color palettes.
FCPX includes a ton of built-in lower thirds that you can just drag and drop into your project. Make sure you complete this process twice - once for the name and again for the title. Once you’ve chosen your clip, click on the Titles sidebar within FCPX. Under the Titles folder, click on Build In/Build Out, select the custom title, and drop that on top of your clip. Once you’ve changed the first title to your subject’s name, place it in the lower third portion of your frame. You now have your raw graphics for both the name and title.
Step-by-step workflow for creating lower thirds in Final Cut Pro
First, change the first Title to your subject’s name. Once you have the subject’s name, add their title. This can be their job, area of expertise, or relation to the story as a whole. Under the Generators Tab, create a bright, white solid, size it, then place it between the name and title. Now that you have the subject’s name and title, spruce things up a bit to make it a little more aesthetically pleasing. Ease the graphic into your scene with Cross Dissolves. Once all this text is placed, add Cross Dissolves to all of your lower thirds layers to ease the graphic into your scene. Select all the layers associated with your lower third and press Command+T.
Practical tips for effective lower thirds
- Keep text brief: name at the top, title beneath, and avoid long phrases.
- Use a legible typeface and appropriate contrast against the video background.
- Limit animations: smooth transitions like Cross Dissolves are generally enough.
- Position consistently: place lower thirds in the same vertical area across scenes for stability.
- Leverage simple shapes or a subtle solid behind text to improve readability.
In practice, you’ll customize two text elements per lower third: the subject’s name and their title. The process involves creating a name layer and a title layer, then inserting a timing between them with a generator shape as a separator. This separation helps to keep the composition clean and legible while still looking polished on screen.
Common mistakes to avoid
- Overstating color or motion that distracts from the subject.
- Overcrowding with logos or extra graphics in the lower third area.
- Inconsistent styling across different clips or scenes.
When finished, you’ll have a dependable blueprint for inserting lower thirds into any project, ready to be reused in future edits with minimal adjustments. The combination of proper placement, readable typography, and restrained animation ensures the information remains the focus while enhancing the viewer’s comprehension.
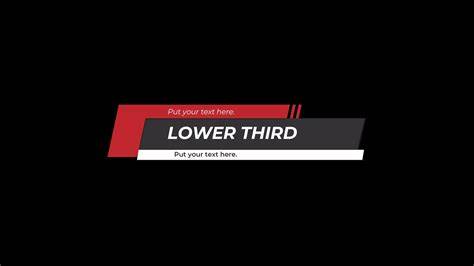
How to Easily Create Lower Thirds in Final Cut Pro
- Open the Titles sidebar in Final Cut Pro.
- Under Titles, select Build In/Build Out and choose a custom title.
- Drop the title on top of your clip.
- Change the first title to the subject’s name and place it in the lower third.
- Add a second title for the subject’s job or relation to the story.
- Under Generators, create a bright white solid and position it between the name and title.
- Apply Cross Dissolves to all lower-third layers to ease them into the scene.
- Select all lower-third layers and press Command+T to create a connected group.
With these steps, you can craft clean, informative lower thirds that support your narrative without overpowering it. The result is a professional-looking graphic system that enhances viewer understanding and retention.