Textures in SketchUp can dramatically affect the realism and readability of your model. The orientation of a texture, such as Wood flooring or a decorative surface, determines how the pattern aligns with faces and groups. Understanding how to adjust texture direction-especially when textures are applied to groups or components-helps you achieve accurate and visually pleasing results.
Understanding when texture orientation is editable
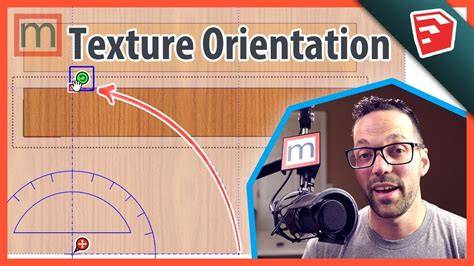
You can rotate or reorient a texture to match the intended direction before applying it to the faces. If a texture is already applied to a group or component, you must edit inside the wrapper to modify the texture orientation of the faces themselves. In other words, you’ll typically open the group or component for editing, apply or adjust the material to the individual faces, and then close the wrapper to preserve relationships.
There are workflows where painting a group or component can be beneficial for color variation without altering texture orientation. However, this approach keeps the texture orientation locked to the original faces and can complicate edits if orientation matters later.
Practical steps to rotate or reorient textures
- Open the group/component for editing: If you’ve applied a material to the wrapper or outside faces, you’ll need to enter the group/component to edit the faces directly. This is akin to removing the “cling wrap” to access the contents.
- Select the faces or the material: Choose the faces whose texture orientation you want to adjust. If you’re rotating a texture across multiple faces, you can select all relevant faces at once.
- Use the Materials window: Open the Materials dialog and locate the texture in use. If you’re rotating the texture, you’ll typically rotate within the Material Edit options rather than applying a new material. Look for options like “Position,” “Rotate,” or “Align,” and adjust the orientation to the desired angle.
- Apply rotation to the faces: After rotating, re-check how the texture aligns across adjacent faces. Ensure the seam lines and grain direction match the intended design.
- Close the group/component: Once you’re satisfied with orientation, exit the group/component to preserve the new texture alignment for future edits.
Common pitfalls and tips
- Don’t rely on painting the wrapper for texture orientation: Painting the outer group/component can preserve colors or textures but often locks orientation in ways that are hard to adjust later.
- Explore instance vs. group behavior: Painting instances (components) can create uniform colors or orientations across instances, whereas groups are independent. Choose based on whether unity or individuality is required.
- Rotate textures before applying to complex geometry: If possible, set texture orientation upfront when applying to faces to reduce the need for later edits inside a wrapped group/component.
- When using external image editors: Some workflows suggest editing textures in external editors and re-importing. If you do this, reapply or reorient as needed in SketchUp’s Material Edit window.
Alternative approaches and considerations
In some cases, you can “paint” different colors on instances rather than changing texture orientation, which preserves relationships and can simplify workflows. This is more effective for color variations than for texture alignment. If your project requires frequent texture orientation changes, consider avoiding painting groups/components in ways that lock orientation.
Short comparison: painting groups/components vs. editing textures
: quick color variations, maintains relationships but can complicate texture orientation. : precise control over orientation, may require entering and exiting groups/components for edits. - External image edits: offers advanced control but requires reloading textures and re-aligning in SketchUp.
ROTATE MATERIAL SKETCHUP
Rotating textures is a nuanced task because the way SketchUp handles paint inside or outside a wrapper changes what you can edit. The key takeaway is to edit inside the group/component to adjust the texture direction on faces, rather than relying solely on painting the wrapper, especially when texture orientation matters for realism.