Isolating colors in Photoshop can be a challenge for many users. This article simplifies the process, guiding you through the steps to achieve stunning, color-focused images.
Step 1: Open your image and start Color Range selection
Start by opening the image in Photoshop. Navigate to the “Select” menu at the top of the screen and click on “Color Range”.
In the Color Range window, click on the Eyedropper tool. Then click on the area of the image that has the color you want to isolate. Alternatively, you can use the Color Picker for more precise selection.
Step 2: Adjust the selection with Fuzziness
The Fuzziness slider determines the range of colors selected. A lower value selects colors very close to your chosen color, while a higher value selects a broader range of similar colors.
Step 3: Refine and preserve color while adjusting brightness
In the Layers Panel, click and hold on the Layer Style icon. Change the blending mode in the layers panel. Luminosity Blend mode will preserve the color and change the brightness of the image.
You may ask the question, Why not use the HSL sliders? Yes, HSL does a very similar thing and I do use it all the time. However you have to go into Camera Raw to filter to do that. If you want to keep your workflow nondestructive, convert the image to a Smart Object, which isn’t a big deal if you aren’t going to apply any pixel-level adjustments to the image. Just one thing to be aware of with this technique: don’t move the sliders too much.
Resolving color matching across photos and layers
How to perfectly match the colors and brightness of different photos and layers in Photoshop can involve brightening shadows with a Parametric Curves trick or other non-destructive adjustments. For color isolation, use Color Range or Hue/Saturation adjustments in combination with blending modes to maintain control over the final look.
Practical tips from forum and user experiences
One common approach is to use the Magic Wand tool with a low tolerance to select narrow ranges of color, then fill or adjust on separate layers to prevent affecting the rest of the image. Another approach is using Hue/Saturation adjustments to target specific color ranges (e.g., magentas) and fine-tune the selection manually if needed.
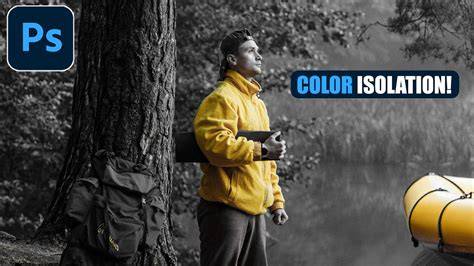
Better Cut Outs with This Color Range Photoshop Trick - 90-Second Tip #11
| Technique | Advantage | When to use |
|---|---|---|
| Color Range with Eyedropper | Direct color selection, precise control | Isolating a specific color hue |
| Luminosity Blending | Preserves color while adjusting brightness | Enhancing contrast without color shifts |
| Hue/Saturation Target | Flexible color range adjustment | Selective color edits across layers |
Short workflow recap
- Open image and choose Color Range from the Select menu.
- Pick the target color with the Eyedropper and adjust Fuzziness for range.
- Refine using blending modes like Luminosity to keep color intact while changing brightness.
- Prefer nondestructive edits by using Smart Objects when applying more adjustments.