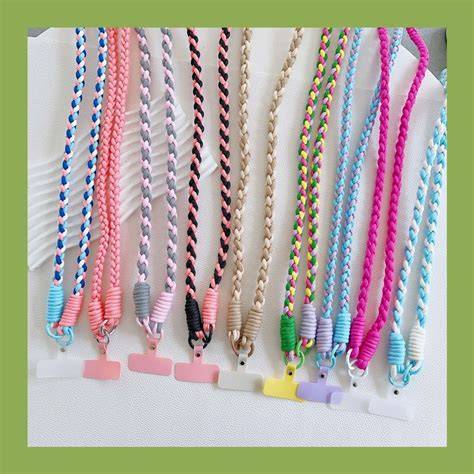
Helpful Tip: While weaving your lanyard, always make sure your laces are flat.
Materials and Setup
Select 4 colors of flat plastic lace. Feed the black lace through the key ring and wrap around the center once. Insert the key ring in the center lace holder and place it in the center of My Lanyard Maker.
Place the center of the purple lace under the black lace and put one end in 6B and the other in 3D. Place the center of the green lace under the black lace and put one end in 5B and the other in 4D.
Initial Weaving Steps
Take the black lace in 4A, wrap it around 3A, then take it across the center and secure in 6C.
Remove the purple lace from 3D and go over the first two black laces and under the third. Remove the purple lace located in 6B and replace it with the purple lace from 3D (remembering to keep the lace removed below the lace you just brought across).
Take the purple lace you just removed from 6B and place it over the first two black laces and under the third. Secure in 3D.
Color Exchange and Pattern Progression
Remove the green lace from 4D and go over the first two black laces and under the third. Remove the green lace located in 5B and replace it with the green lace from 4D (remembering to keep the lace removed below the lace you just brought across). Take the green lace you just removed from 5B and place it over the first two black laces and under the third.
Continuing the Pattern
Remove the blue lace from 5D and go over the first two black laces and under the third. Remove the blue lace located in 4B and replace it with the blue lace from 5D (remembering to keep the lace removed below the lace you just brought across). Take the blue lace you just removed from 4B and place it over the first two black laces and under the third.
Finishing a Rotation
Pull the two black laces from slots 5A and 6C, bringing the loops toward the center. Move the black laces back to their starting positions. You have now completed one rotation of the pattern.
Repetition and Finalizing
Repeat steps 4-10 until your lanyard is the desired length. Once your lanyard is long enough, simply remove laces from My Lanyard Maker and tie an overhand knot (pulling tightly to secure).
Tips for Success
Flatten the laces consistently to maintain a neat weave. Keep track of each color’s path to avoid tangling and to ensure the intended color sequence remains visible throughout the project.