Gradient banding is a common issue where you see distinct bands instead of a smooth gradient in printed materials. This can happen due to various factors, including limited color depth in the file or print process. If you are using Canva, Figma, or Adobe Illustrator, please be aware that gradients should be made separately in Adobe Photoshop. After the gradient file is ready - export your file and place (replace Illustrator gradient with a PNG file from Photoshop) it back into Canva, Figma, or Adobe Illustrator.
What is Gradient Banding?
Gradient banding is a common issue where you see distinct bands instead of a smooth gradient in printed materials. This can happen due to various factors, including limited color depth in the file or print process.
To mitigate banding, one practical approach is to create gradients in Photoshop and then reinsert them into other design tools. This workflow helps ensure the gradient is prepared with more control over bit depth and dithering, potentially reducing visible banding when exported for print or display.
Why Banding Occurs
The banding is typically caused by the bit depth of the image or the display/print process. In most cases, banding is more noticeable when working with 8-bit gradients, especially in large print runs or on high-contrast areas. The phenomenon is exacerbated by limited tonal information and abrupt transitions between colors.
Key Strategies to Reduce Banding in Photoshop
First, go to the top of the screen, select Mode, and change the option in the dropdown menu from 8-bits to 16 bits per channel. The banding may still appear because it's burned in the pixels, but now go back to the Gradient and create the gradient again.
Keep in mind that if you're working with JPEGs they can only be saved as 8-bit files. If you need higher fidelity, work in a format that supports higher bit depth and use dithering to approximate intermediate tones. This weeks video is on a problem I see almost every day, and certainly every time I judge or critique images: Banding. We’re going to look at what it is, why it happens and how to fix it in photographs after it appears.
One old trick is to add a small amount of noise to break up the bands. Another approach is to use a dithering or texture-based method to introduce subtle variation without introducing obvious grain. When possible, replace flat gradients with textures or micro-details that simulate smooth transitions.
To check if your image has banding, a Solar Curve adjustment layer can help reveal tonal gaps. The easiest way is to pop on a Solar Curve adjustment layer and observe the changes in your gradient region. If you’re using outside tools like Camera Raw (ACR) or Lightroom, note that changing bit depth settings does not magically increase the information captured by the camera; it only affects how data is processed and displayed internally.
Practical Steps for Print and Digital Projects
- Prepare gradients in Photoshop and export them as PNGs for use in Canva, Figma, or Illustrator.
- Ensure your working documents are in 16-bit depth when creating the gradient, then convert to appropriate formats for output.
- Test prints at a smaller scale to confirm gradient smoothness before a full run.
- Use noise, texture, or dithering strategically to break up bands while preserving overall tonal accuracy.
- Be mindful of the final destination: print devices and color spaces (CMYK vs. RGB) can introduce additional banding if not prepared properly.
Assistance and Resources
If you’re preparing a file for print and encounter gradient banding, following these steps should help resolve the issue. For self-named clients, if you require further assistance or have specific questions regarding your print files, please reach out to our support team.
This article also references techniques from Unmesh Dinda’s guidance on hidden Photoshop settings and practical workflows for minimizing banding in Gradient Fill layers or Gradient tools. While banding is not always obvious until cropping or zooming, applying the right bit-depth, dithering, and texture can significantly improve results.
Summary of Techniques in Brief
- Use 16-bit mode for gradients when possible, then re-create the gradient.
- Export gradient as PNG when moving between design tools.
- Avoid pure 8-bit gradients; introduce controlled noise or texture to break bands.
- Consider dithering and texture overlays to simulate smoother transitions.
- Validate by testing at print-scale and adjusting color space for output.
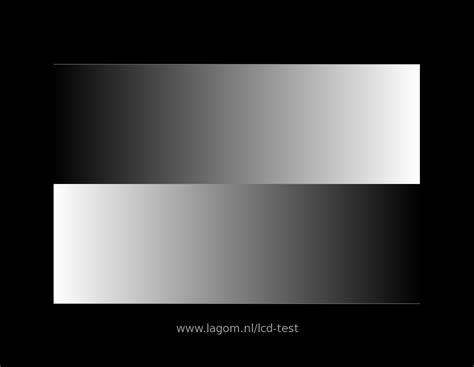
How to Fix Banding in Gradient | Photoshop
Таблица: сравнение битности и эффектов
| Битность | Преимущества | Недостатки |
|---|---|---|
| 8 бит | Малый размер файла, широкая совместимость | Частое образование banding |
| 16 бит | Расширенная градация, меньше banding | Больший размер файлов, возможная нагрузка на ресурсы |
| 32 бит (псевдо) | На этапе редактирования максимальная гибкость | Не всегда реализуемо в принтах; ограничено устройствами |