Photopea is a powerful image editor that mirrors many features of desktop programs, including the ability to adjust layer opacity to achieve subtle blends and professional compositions. This article explains how to change opacity for individual layers and groups, with practical steps and tips for working with a layered document.
Understanding layers and opacity
Each PSD document consists of layers. You usually edit just one layer at a time. Layers panel is the main place for working with the layer structure of the document. It contains the list of all layers and their thumbnails. When we have many layers, we need to choose one, wich we want to work with.
There are several basic properties of the layer, that you can change in the Layers panel. Each layer has the name, which can help you understand the sturcture of large documents. Double-click the name of the layer, then you can enter a new name. You can drag and drop layers inside the Layers panel. This way, you can reorder layers (e.g. place layers into folders (or take them out of folders), put a folder into another folder etc.).
Opacities and visibility
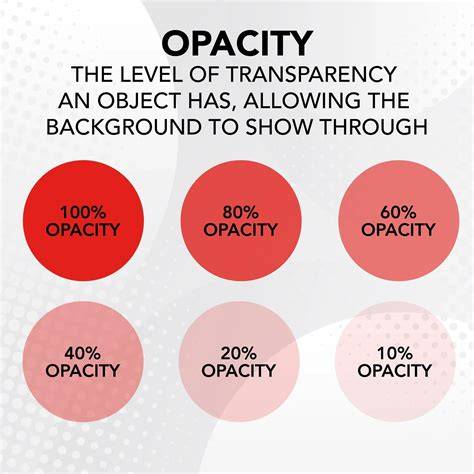
Opacity is a key property that controls how transparent a layer appears and how it blends with layers beneath it. Adjusting opacity can create subtle fades, ghosted effects, or composite looks by letting underlying layers show through.
The opacity control affects the entire layer uniformly. If you only want to adjust the opacity of a single element within a layer, you may need to rasterize, mask, or use blending modes-but for general adjustments, the layer’s opacity is the primary tool.
Steps to change opacity in Photopea
- Open the Layers panel to view the list of layers in your document.
- Select the layer (or group/folder) whose opacity you want to adjust.
- Look for the Opacity slider in the Layers panel. It is typically located at the top of the panel or near the blend mode drop-down.
- Drag the slider left or right to decrease or increase opacity respectively, or click the value and type a specific percentage (e.g., 50%).
- Observe the live preview on the canvas as you adjust, ensuring the result matches the intended look.
- For a group or folder, selecting the folder will also affect all contained layers, if that behavior aligns with your editing goals. You can still adjust the opacity of the individual layers later if needed.
Practical tips for opacity adjustments
- Use low opacity (e.g., 10-40%) for subtle texture overlays or to combine multiple images gently.
- Pair opacity with blending modes (such as Multiply, Screen, Overlay) to achieve different integration effects with underlying layers.
- Apply layer masks to control where opacity changes take effect, allowing selective transparency without altering the entire layer.
- When working with folders containing multiple layers, consider adjusting the opacity of the folder to create a cohesive overall transparency, then fine-tune individual layers as needed.
- Reset opacity by entering 100% if you want to return to full visibility of a layer.
Layer organization and opacity workflow
Inside one folder, folders can contain other folders. When you select a folder (e.g. by clicking on it), all its content is also selected (even though it is not highlighted in the panel). The garbage bin button lets you delete all selected layers. The New Folder button will add a new empty folder on top of the current layer. Another convinient way to duplicate layers is to drag them to "another panel" with a Move tool.
Additional workflows
For complex projects, you may combine opacity changes with grouping and naming conventions to maintain clarity in large documents. Regularly saving versions and using descriptive folder and layer names helps keep opacity adjustments efficient as the project evolves.
How to Change Clip Opacity in CapCut – Adjust Transparency & Fade Clips!
By leveraging these techniques, you can control transparency precisely and build polished compositions in Photopea, whether you are blending photos, creating fades, or layering textures for a cohesive design.