Today, I will explain something that many have asked me to do: How to Shade on Procreate? (Quick and Easy)
This blog explains some basic information about how to use soft and hard shadows accurately, and which brushes I like to use and why. Also, I will share a secret technique which has made shading much easier for me!
Foundations: imagining light and planning the shading
First of all, sit down, close your eyes and imagine: Where will the light come from? What will the shadows look like? Try to see the composition of the face in your mind.
In order to learn how to shade on Procreate you need to mix the hard and soft brushes. Here is an interesting technique that I want to share with you all: creating shadows using the selection tool.
Technique 1: using the selection tool and airbrush for layered shadows
By using an airbrush, you can easily and quickly create a combination of hard and soft shadows.
After you are done making shadows with the selection tool, take a soft edged brush, I use the one from my cartoon-ish make up brush set, and start to make your soft shadows. This brush is handy because it’s very easy to create both hard and soft shadows, simply by pressing harder or softer.
In other words, if you apply less pressure, the flow of the brush is lower, which makes it blend the color in a softer way. But when you apply more pressure, it will create hard, sharp edges. The cool thing about this is that you don’t need to switch between soft en hard edges brushes.
Technique 2: blending for cohesive edges
Blending
Further, I’ll take a blending brush from my basic portraits brush set. Afterwards I blend every edge of the shadow made using the selection tool, even the hard ones, just a bit, using a very small blending brush, simply because it looks better. That way, it’s not as messy.
Once I have blended everything out, you can see, for example, on her lips, that the shadow has hard edges when its closer to her skin, and the further the object that casts the shadow is, the more blended it becomes, or, the softer the shadow gets.
I’ll give you an example, right here in the corner as to how it works.
Practical workflow: combining brushes for consistent shading
To this end, that is all I have for you guys today. I hope you all have learned something useful about how to shade on Procreate that you can apply to your individual styles!
We declare war on flat illustrations, as we’re done with lifeless, bland shapes and colors. This collection is called “Essential” for a reason. It includes 8 Procreate brushes that handle all possible shading tasks. These brushes allow you to blend colors, soften edges, and transition smoothly from light to dark areas, mimicking the natural shading effect found in traditional art. In short, this is a must-have for any creator because you never know when you’ll need to add a couple of shader strokes here and there.
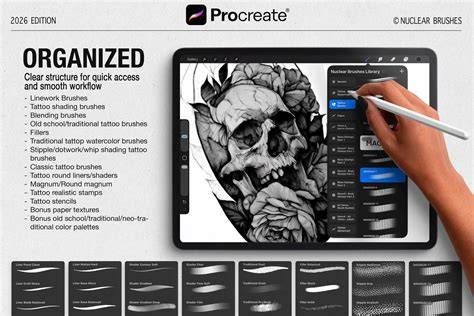
Infographics can help summarize the brush flow: selection tool usage, airbrush shadows, soft edges, and blending steps.
Intro to Procreate - The Basics for Beginners in 10 Minutes
A short video demonstrating the described steps can provide a visual reinforcement of the technique and brush behavior in real time.
| Tool | Purpose | Tip |
|---|---|---|
| Selection Tool | Blocky hard shadows and defined shapes | Use to carve initial shadow areas |
| Airbrush | Layer soft shadows and build gradual tones | Apply light strokes for smooth gradients |
| Soft Edged Brush | Soft shadows, transitions | Vary pressure to control hardness |
| Blending Brush | Smoothen and unify edges | Small strokes for precision |
In short, the approach blends hard and soft shadows without constantly switching brushes by leveraging pressure sensitivity and blending to achieve cohesive shading, with a focus on light direction and edge quality.