In this guide, you’ll learn how to create a custom gradient swatch and apply it to a grouped object in Adobe InDesign. The process involves selecting objects, grouping them, creating a new gradient swatch, configuring stops, and applying the gradient to your artwork with control over angle and scale.
Step 1: Group the target objects
First, I'll select all the rectangle shapes and while holding command on a Mac control on Windows, press G to group the objects.
Step 2: Create a New Gradient Swatch
Next I'll click on the Swatches panel and in the options I'll choose New Gradient Swatch. I'll give my Swatch a name and in the type drop down I'll leave the selection on linear gradient.
Step 3: Configure the gradient stops
In the gradient ramp, I'll click the first color stop, and in the Stop color dropdown I'll choose Swatches. Since I already have two colors I'd like to add to the gradient, I'll set the first stop color to the bright orange and then click the second color stop and select the vibrant purple. From the swatches, you can see that my two colors have been applied.
Step 4: Save the gradient swatch
I'll click Add to add the custom gradient to my Swatches panel and click Done to finalize the changes.
Step 5: Apply and adjust the gradient
As a final step, I can select the Gradient Swatch tool from the Tools panel, then click and drag short segments over the object to modify the angle and size of the existing gradient.
Practical context and tips
Gradients in InDesign are a powerful way to enhance fills or strokes with a smooth color transition. A gradient is a gradual blend between two or more colors and can be applied anywhere that color can be, including as a Fill or Stroke. To apply a gradient, create an element, select it, and ensure the Fill is active. Then open the Gradient panel and set the type to Linear or Radial, depending on the desired effect. By creating a gradient swatch, you can reuse consistent color transitions across multiple objects.
Using and editing gradient stops
The Gradient Ramp in the New Gradient Swatch dialog has two tabs, Stops, where you control the color transitions. Each Stop has a color space (CYMK for print, RGB for digital) and color sliders to dial in the exact hues. You can add more Stops by clicking the Ramp, and you can reposition Stops by dragging them along the ramp. Double-clicking a Stop allows precise color adjustments, and you can switch between color spaces as needed for your document.
Additional notes on workflow and compatibility
Different versions of InDesign may vary in appearance and functionality, so the exact placement of controls can shift. However, the fundamental steps-grouping objects, creating a gradient swatch, selecting the gradient type, adjusting color stops, and applying the swatch-remain consistent across recent releases. This workflow is particularly effective when you need cohesive color transitions across multiple grouped elements.
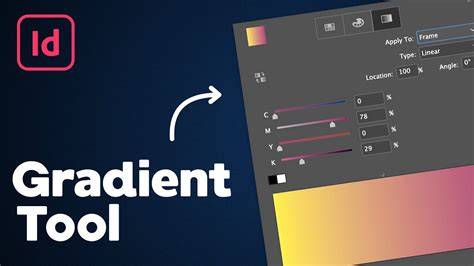
How to Make a Gradient in InDesign
InDesign’s gradient tools pair well with other creative software workflows. For example, you might combine a vector shape created in InDesign with a gradient fill to achieve a vibrant, scalable design suitable for print layouts and digital media.